Showing posts with label Christmas. Show all posts

Wednesday, December 11, 2013

Home Tour - Christmas 2013

Welcome!
 
I’m not going to talk a lot about each picture, so just enjoy the simplicity I used to decorate our home this Christmas.

 
My little angels welcome you.


These candles are from my mom.
Maybe not something I’d have bought BUT
Since they were in their home for years,
They are important to me and I think I really like them.


Now for some evening twinkle.

 
I wanted more “twinkle” this year and less ornaments.
I really love the warmth of lights at night.
When candles are lit and lights shine, that’s warm and cozy to me.
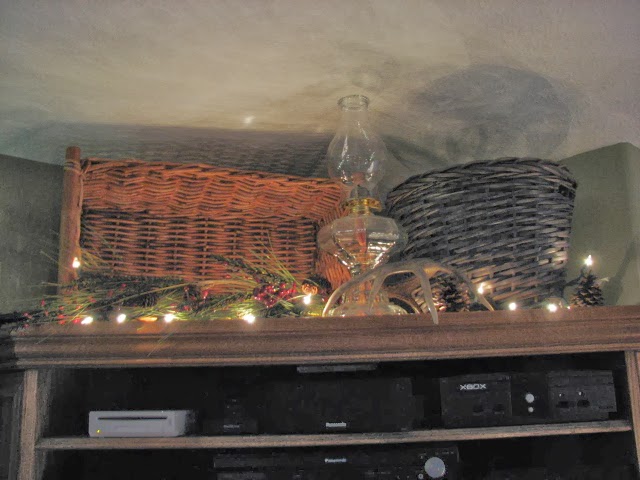


This antler is actually my dads.  It’s not faux, it’s the real thing.
I did put a little gold paint on it for the season.

 
Another antler (unpainted)


My little angels are waving good-bye from this angle, so I guess that a good-night to you.
Thanks for dropping by.


Monday, November 25, 2013

Clay Tags for the Season


Welcome to my display of

Clay Tags -

“tis the Season”

Use these clay tags on gift packages that add a little
“something special”.  Or.
Decorate your home this season with clay tags by  
placing them on your Christmas Tree,
tying one around a wreath,
 or attaching one to a candle with some ribbon.
The options are endless.


Saturday, November 17, 2012

Tree Skirt to Tree Basket


CHOOSE a basket that is sturdy and is large enough for your tree stand to fit inside and clears all the edges.  Make sure to measure before you go shopping.

Personally, I’m looking for one that goes with our ‘white’ Christmas Tree, or you can spray paint one.  Make sure the basket sits flat on the floor when turned upside down. 

Note:  a basket with a finer weave will be easier to cut.


CUT a circle in the bottom of the basket using the pruning shears.  Avoid cutting the seam joining the side to the bottom.  Make sure the hole is big enough to get your hands in when positioning the tree in the stand. You can always make the hole larger.  Use silicone to cover the rough cut edges.


PLACE the basket upside down and place the tree stand inside.  This is where you’ll know whether you can get your hands inside to secure your tree.  Insert your tree into stand and secure it.  If your boughs hang down enough, you will not see any hole in the basket.


ENJOY and happy decorating!!

Tuesday, December 20, 2011

Granny to Glamourous


Christmas Snowflakes (otherwise known as ‘doilies’)
I renamed my ‘doilies’ and thought that they looked more like snowflakes especially at this time of year.  After seeing an article in Martha Stewarts’ magazine, which I thought was beautifully done with a twist of contemporary, I knew I had to try it.  And that is the twist for sure – using the doilies and adding a contemporary flair to your arrangement.  I’m not sure I have captured the look I have in my thoughts but I’ll need to go shopping to get that effect, but this Christmas I’ll make due with what I have.
I started by going to the local thrift store and found 2 wooded racks holding all sizes of snowflakes.  To sum it up, I cleaned up.  Some were as little as .30 going up to 1.30.  I bought a total of 24 that cost me $9.90.  I have no idea how they decide on the price and the lady who rang up my purchases obviously had the same thoughts as she had to ask her helper if these prices were right.  Both looked at the snowflakes and hummed and hawed over them.  I said “maybe it’s the time that went into the task.  Just hurry it up so I can get home and see if this idea is going to work!”  (I didn’t say that but was sure thinking it) My husband Greg made a comment as we left saying I should feel bad that I cleaned them out and some old lady’s going to go there looking for some pretty doilies for Christmas and find none hanging on the racks.  Ah, I say she should have been there early like me.


That evening I had to take the price tags off gently as to not snag the delicate stitches with the staples.  It took about 30 minutes to arrange the snowflakes into something I liked.  Not as easy as you’d think it would be.  First it looked too symmetrical as I tried too hard to make it perfect.  It’s not in my nature to create something so random looking and be able to leave it that way.  Then I ‘threw’ them on the table to see what I got and then flattened them out.  Nope, not good either.  Finally, a random large and small placement that didn’t look to ‘placed’ was making me happy.  Of course, thru all this, my husband is such an encourager.  His giggling and snickering at me, just made me more adamant to make this happen.  I began to gently stitch the snowflakes together only to realize I was going to be there all night!  I really don’t want to use the glue gun, but alas, because I just couldn’t wait to get it done, out came the glue.  Later I can stitch them together if I really like them.  Can you imagine my patience to crochet? Not.


An alternative look is to spray glue on the snowflakes and toss some glitter on them.  You may like this but I thought I’d try it plain this year.  Next year.  I may also dye a snowflake or two to match my colors of Christmas and toss them ‘randomly’ on top to add that special something.


I have to say, I think this is one craft that is probably not a real hit with today’s young crafters.  It may be soon lost and my Christmas doilies may be worth a lot of money some day.  I best start collecting them now.  I remember my mom and even my grandmother with crochet needles working away while they visited or whenever.  Can you imagine if you invited your friends over for an evening and brought out your crocheting?  Actually they may be intrigued with what you’re creating but on the way home, they’d be saying, “what’s with that?”

Related Posts Plugin for WordPress, Blogger...