Showing posts with label Furniture Face Lifts. Show all posts

Friday, February 24, 2017

Home Renovation on 'Catch-all'


So finally I got around the painting the big elephant we saw 
every time we entered our home and came up the stairs.  
There is so much varnish on all the oak in this house! 

This is a picture of what we faced when we moved in.  
Orange and green walls and browns and green in bedrooms.


The story behind doing this project is simple…this wall will not be around for long (fingers crossed).  We plan to remove this shelving unit along with the mirrored closet.  This will deepen this space and open up into the kitchen.  The header that is open to the ceiling will be removed half way up exposing the kitchen all along that big wall.  This way it will have a much more open concept, without showing all the mess in the kitchen after I cook.  If you catch it in the picture, you’ll see the ‘oak’ cupboards/storage wall (another elephant) just inside the kitchen that will also be removed.  We will replace this with proper cupboards on the other side of kitchen and add an island. 


You can't really see in these pictures, but where I painted the dark blue, there are slight imperfections in the coverage.  
Note to self again: just because Chalk Paint can be used over varnished items, doesn’t mean you shouldn’t sand it.  The paint covered lovely but I should have sanded my little heart out to make it velvety smooth and then applied the coats of wax.  Because of the thick, bumpy coats of varnish, I think it affected the final look.  Oh well, it works for now, and it looks so much better.  


The next plan is to paint the gold trim around the mirror.  I’ve covered it in black duct tape and then I’ll use chalk paint to cover.  The rest of the wall will be the same as the shelving unit.


Well, time is precious and I need to finish this wall before any other big projects can start!

Bonny

Wednesday, January 29, 2014

Rock On'

 
Journaling about Life. 
 

 THAT is going to be my focus for blogging this year.  While furniture and accessories are pretty, they cannot replace family.  You cannot refurbish a loved one into something else. 
 
 
(Ok, so we all know there are those loved ones we’d like to put some varnish remover on, then sand down and finally add what we want for color and shine) 
 
 
We’re looking for realness, for honesty and for sharing.  That’s why we’re drawn to reality shows.  My life is a reality show too and yet no one is filming here in Morden – at my house.


YET these photos you’ll see of a simple Rocking Chair has a story behind it.

I once wrote a blog about our daughter and husband.  About their love for each other and adoption.  It’s been a long journey for them but they are so strong and I believe have grown stronger and closer together.  That doesn’t mean the tears haven't flowed.  I witnessed that myself and deep heartache for a little one that was to be welcomed into our family, all to fall to pieces in just a few moments.  Talk about life changing!

Then I deleted the blog and hate myself for it.  It was tastefully and wonderfully written, if I say so myself.  So never, never erase journaling life.  If it’s painful, put it away for a while.  Then over time, it will be a blessing to read how far you’ve come and what has changed in your life, and made you stronger.  Kind of like using stain remover on yourself and sanding and then applying a coat of finish.  Ahhh . . .

NOW for some pretty Rocking Chair photos. 


Starting at $10 from an ad online.


I painted it white because it’s clean and bright and would go in the baby room décor.

Not looking so great, it just wasn’t working for me. 


Blue or Graphite should I say.  Someday I’ll do one with the spindles a different color.


Ta-Da.  I love it and I hope they will love it too and put it to use A LOT!


Make sure you journal this week.

Sunday, January 19, 2014

At Ends

 
I’m really going to miss these two beauties.  They ended up being the exact color I’ve been looking at adding to our living room.  I didn’t plan it that way, but now that they are done I’d love to keep them.  When you see the photos you’ll notice, just as I did, that they are too large for our space.
So, they are up for sale.
 
The process was too long for these two projects. 
If you’ve read the previous posts, it was because of
more important life events. 

Originally there was not going to be any distressing. 
Sometimes, I’m just not a fan and want to try NOT doing it. 
Well, these just weren’t looking so great.  Even my husband didn’t say much. 
So I dragged them back downstairs and sanded and added dark wax. 
Then I waited.  The next day I buffed, leaving some of the dark wax on. 
I loved the new look! 
Even the husband said they looked so much better with a little personality. 

Even if you’re not a fan of the distressed look, these have just enough
to work in your hoity-toity living room. 


Don’t you LOVE the vase on the end table? 
That was one of my Christmas gifts from my daughter. 
See, it would look so good together in our room. 
Ya, I tried that too on the hubby, but they are still too large. 
Better off in someone else’s rec room.


Time to stop being blue and get going on another project.
Have a good Sunday.

Friday, September 6, 2013

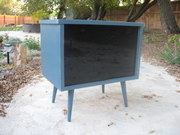
Little Blue Table


LOVE this little blue storage table. 
You won’t believe what I paid for it or maybe you would,
depends on what you like. 
I like a challenge so I thought for 1 loonie I could at least paint it.
 
 
AND I did just that.
 
 
FIRST , I painted the edges white.
Wherever I thought I might distress it I painted white.

 
THEN, painted it blue and sanded it down a bit. 
I changed out the doors for these dark plexi-glass ones.  I think that changes the look immensely!


LOTS of sanding and waxing and ta-da! 


Have a good weekend!  I hope to go garage saling again. 
The end of garage sales for the season is near.
 

Sunday, October 28, 2012

the BLUE door


The ‘blue’ door is finally done.

I’m very pleased with the outcome and want to decorate it for the Christmas season.
 
Have a look.....

You can read the original post here.


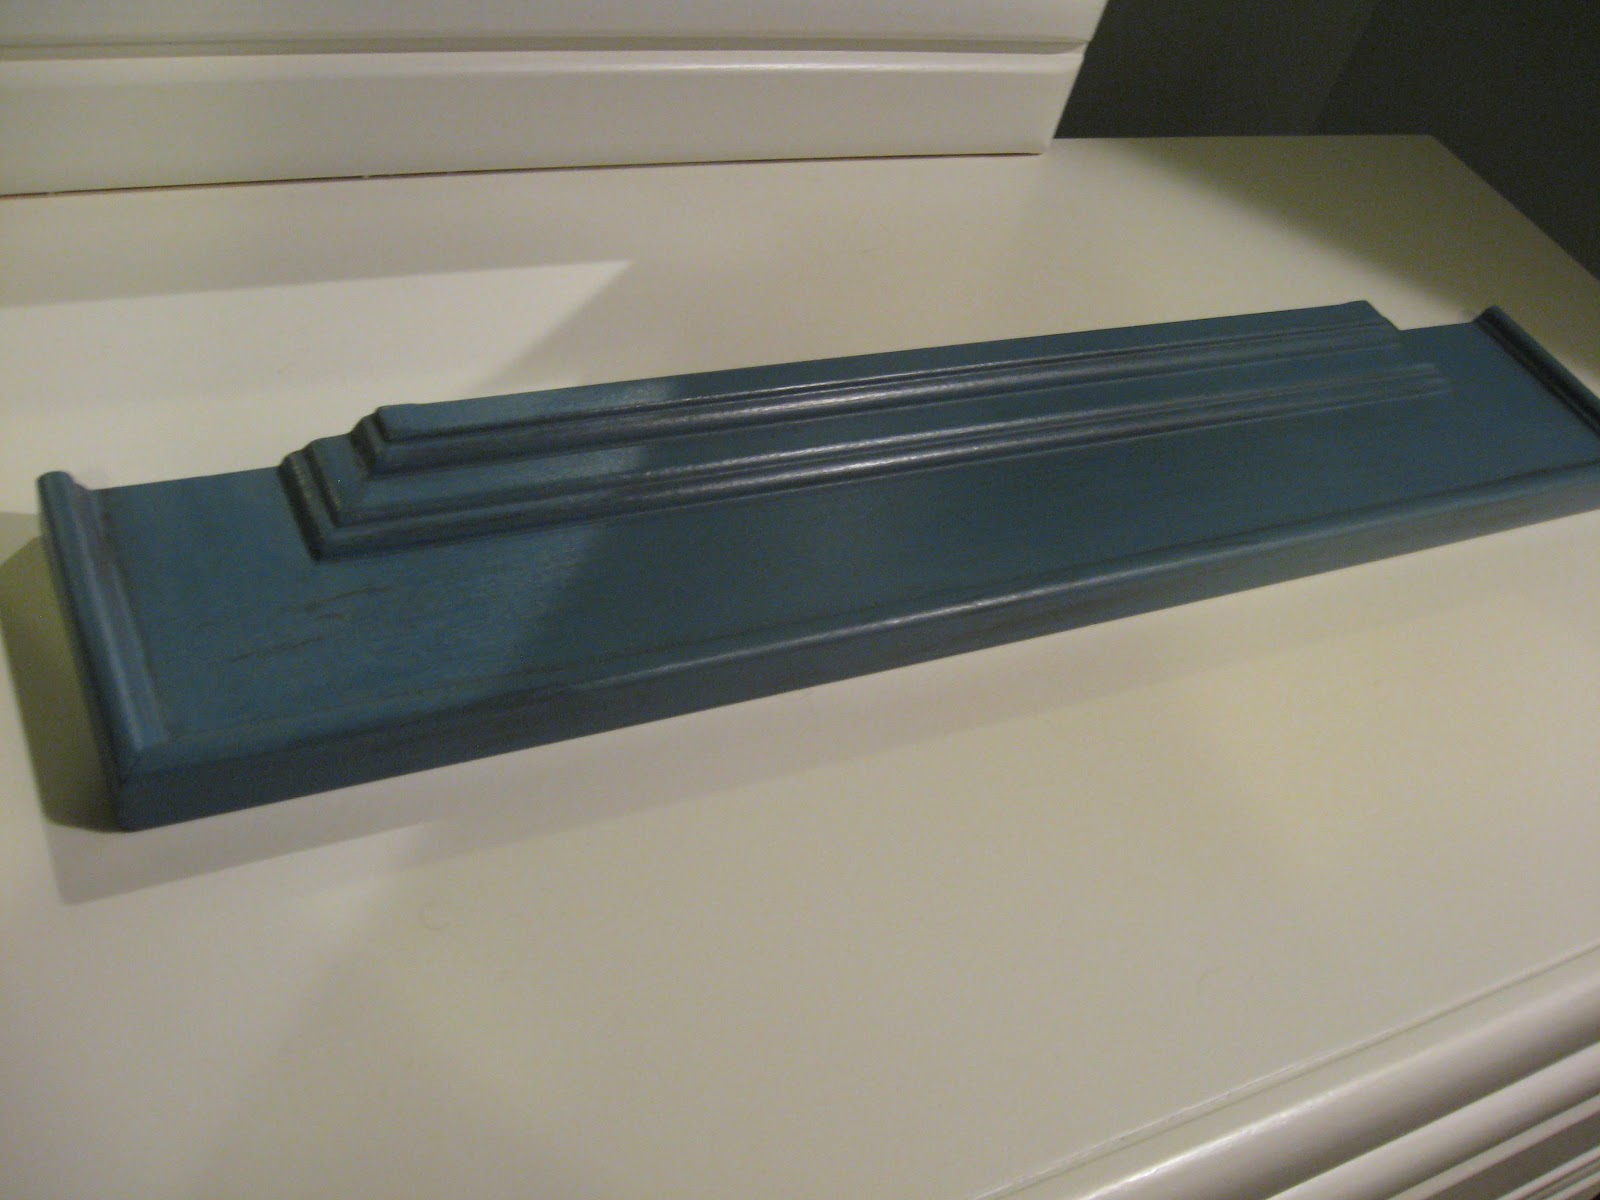
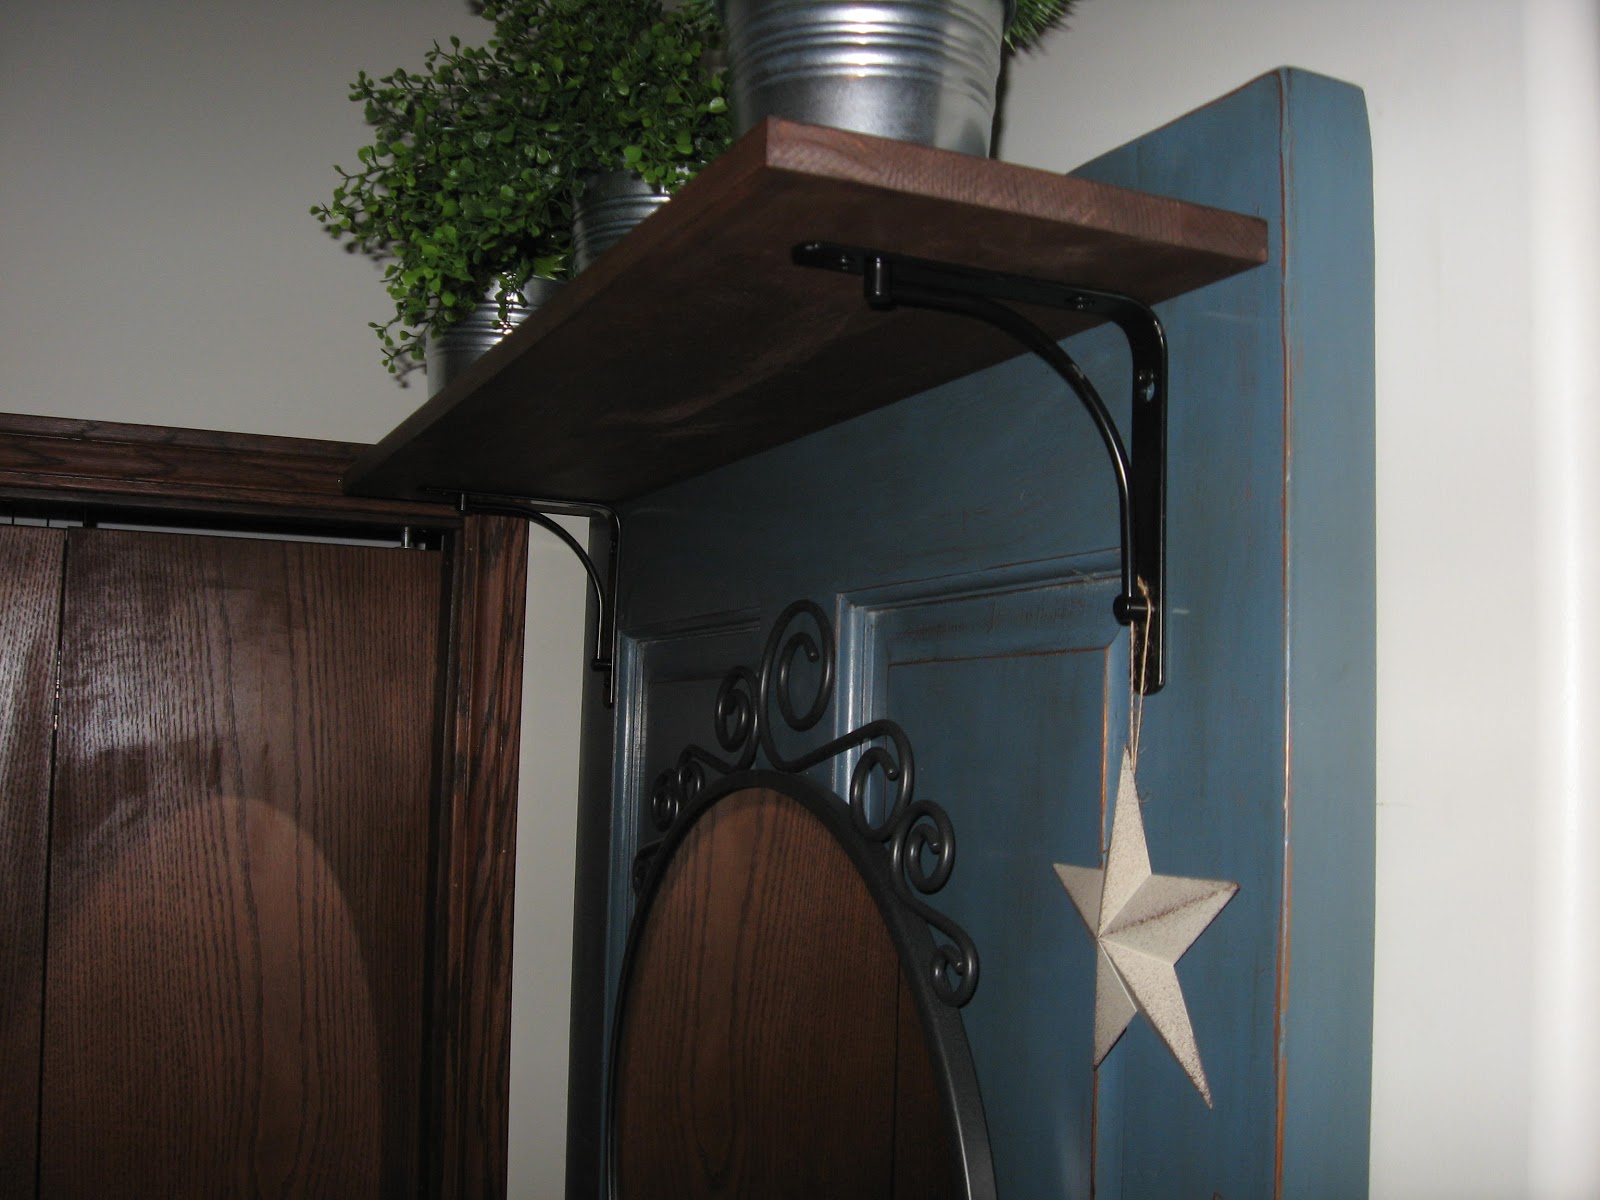
I was not able to find a shelf that worked in that space so…. I bought
moulding and because my hubby loves to help me, he created the shelf
before your eyes.  It is One of a Kind and it works perfectly without
taking away from the mirror above or the hooks below.  I love it!


My NEXT door project sits on the garage and currently has orange paint on it. 
Thanks for reading.


Related Posts Plugin for WordPress, Blogger...