Wednesday, April 4, 2012

Twig Decor Re-do

So…HAPPY EASTER!
I figured it was time to blog again, way too much happening in our lives, but that’s life right?  If I didn’t have anything going on, you wouldn’t be able to read this, it would be a blank page.

I didn’t do any ‘Eastery’ decorating and I don’t think I ever have.  I did buy these Hydrangeas to brighten my hutch.  I just can’t get into the egg decorating and stuff, seems a little tacky to me.  And the colors just don’t do anything for me (or my house).

So here’s what I did this last weekend. 
Just to show you that you can change or improve anything you want with a little imagination.  I posted to Facebook some bedroom photos of our bed actually ‘made’ and it lifted the otherwise gloomy day is was turning out to be.  I however did not like the off-white twigs in a glass vase in the corner so I made sure they were out of the photo.  You can barely make them out in the right hand corner.

The next evening I proceeded to paint them a bright white using Melamine enamel.  About into the 2nd twig I realized spray painting would have been easier but that opened so many other cans of worms AND I could have gone with an orange or green to add contrast to our bedroom.  Painting the curly twisty twigs really was hard but when you do them in your kitchen while you’re preparing dinner or watching TV, it goes quite fast.  Finding a place for them to dry was interesting as you can see my make-do basket with towel.  I had to paint half the twig at a time so it wouldn’t stick to the towel.

 
When you want to do something bad enough, you will find a way,
might look crazy but I’m glad with the results.   

I was diligent and finished them in a few days and now
they are noticeably pretty, at least to me. 


So I need to finish packing…..we’re off for the weekend to spend Easter with family in Alberta.

Have a Great Easter Holiday!!

Thursday, February 2, 2012

China Cabinet

Recently I’ve read a lot of blogs talking about
Check out her website and you might be as intrigued as I am. 
I need to find out for myself what the big fuss is about this paint and the best way to do this is to actually try it. 
Problem is, the nearest distributor in North America is in Calgary.   
I'm anxious to see this little shop but I’ll just have to wait a few weeks
till we visit the family or
order today and wait to see her shop.
But I'll definitely go to Lauren Lane Décor for myself and
check out her shop and her re-painted furniture.
 Here is a picture of an item from Lauren Lane Décor and I love the color and finish.
 
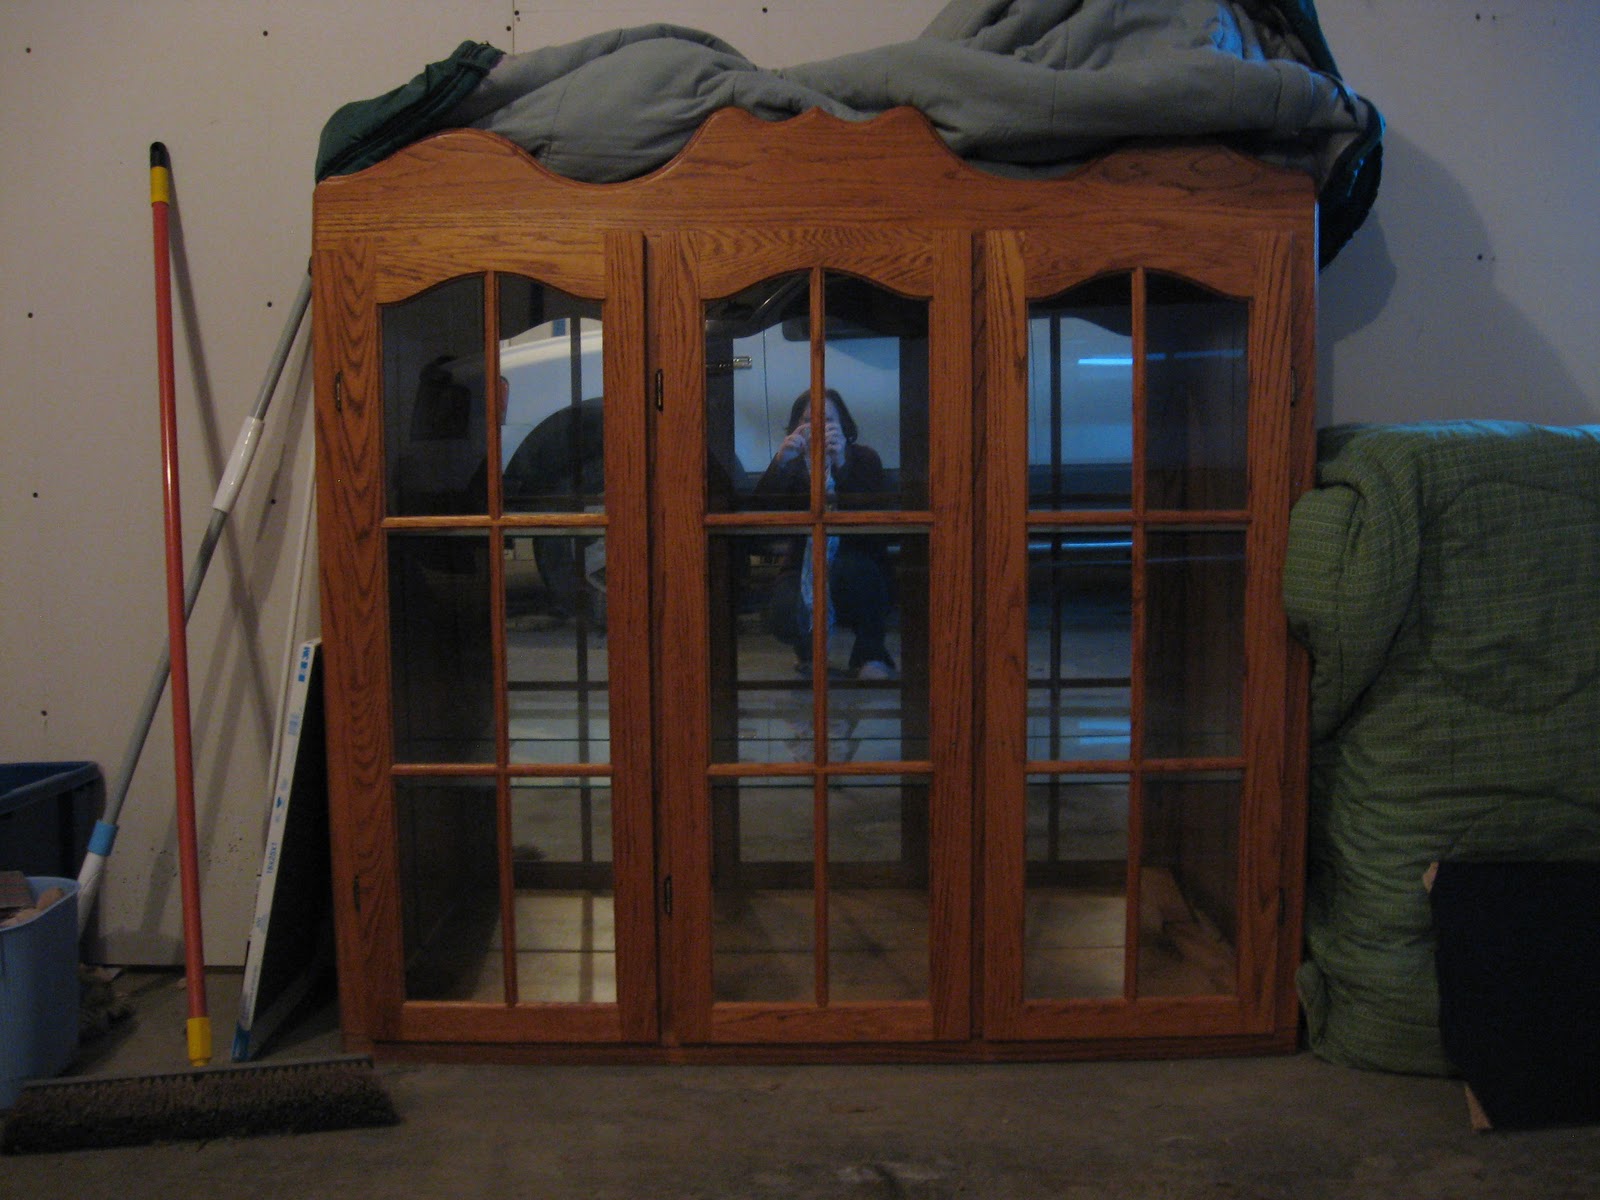
Here is my China Cabinet, currently sitting in the garage
because we just do not have room for it.

My intensions are to finish it with Chalk Paint and put it somewhere where we can actually use it for many more years.


Monday, January 23, 2012

Writing Desk Re-Do

 
My PROJECT this week

 
Just a bit of background: when the hubby is gone for a specific length of time, I need to be kept busy so that time goes relatively fast.  It’s enough that my regular schedule is out of whack so I may as well go with it and be crazy.  I eat weird food, go to bed late, and clean the house like crazy.  Then I add on top of that, a project way too big to finish before he gets home.  But, here goes…..

 
Years ago we traded our water bed for this writing desk.  It came from our daughter’s best friend’s parents.  I believe it has to be quite old as the wood is very thick and hard to sand.  It was natural wood then, but of course I decided to paint it. Then realizing I didn’t like it, after hours and days of sanding, I sprayed it with that ‘silly string’ paint over top of the white.

 
The closures on these two drawers are also very old, I don’t think you could find this type today and I'm not sure what you call them either.  They do stick a bit and a little muscle is needed to open them.


Now it sits in the guest room in the basement and does not match anything.  I’m not sure what color it will be or what texture but I’ll keep you ‘posted’.  I’m thinking a distressed grey-blue with the proper knobs.  But first the long process of removing the paint and sanding. 

See you later.

..... later

Finally the piece has been sanded and ready for paint. 
Keep posted.


Related Posts Plugin for WordPress, Blogger...